Losing precious video recordings and irreplaceable files nestled within a failed hard drive can feel like a gut punch. Memories captured, milestones documented, cherished laughter and tender moments – all seemingly locked away in a silent, unresponsive metal box.
But fear not, for recover video recordings and files from failed hard drives is often within reach. This guide will navigate you through the steps of retrieving your valuable videos and files from the clutches of digital demise.
Step 1: Assess the Damage and Diagnose the Drive
Before embarking on the data recovery journey, it’s crucial to understand the nature of the hard drive failure.
Is it clicking, grinding, or completely unresponsive? Such sounds often indicate mechanical breakdown, while an unpowered drive could point to electrical issues.
Software-based failures, like accidental deletion or corrupted files, usually offer easier remedies through data recovery Software. However, physical damage demands more caution and potentially professional intervention.
Step 2: DIY Data Recovery – Software to the Rescue (For Software Issues)
For software-related problems, readily available data recovery software can become your knight in shining armor.
These programs scan the drive, unearthing deleted files and potentially repairing corrupted ones. Popular options include EaseUS Data Recovery Wizard, Recuva, and Stellar Phoenix Data Recovery.
Here’s the DIY Recovery Playbook:
- Connect the failed drive to your computer using an external enclosure or an adapter, avoiding direct force or manipulation.
- Download and install your chosen data recovery software. Many offer free versions with limited capabilities, while paid versions boast extended features.
- Launch the software and select the failed drive. Most programs offer intuitive interfaces, guiding you through the recovery process.
- Choose the scan type. Quick scans are faster but may miss deeper-seated files, while deep scans take longer but are more thorough.
- Preview recoverable files. Most software allows you to preview files before committing to full recovery, ensuring you retrieve what you need.
- Recover selected files. Choose the destination for your recovered files, ideally on a separate drive to avoid overwriting any recoverable data.
Pro tip: Don’t install the recovery software on the same drive you’re trying to recover data from. This can overwrite and permanently erase recoverable files.
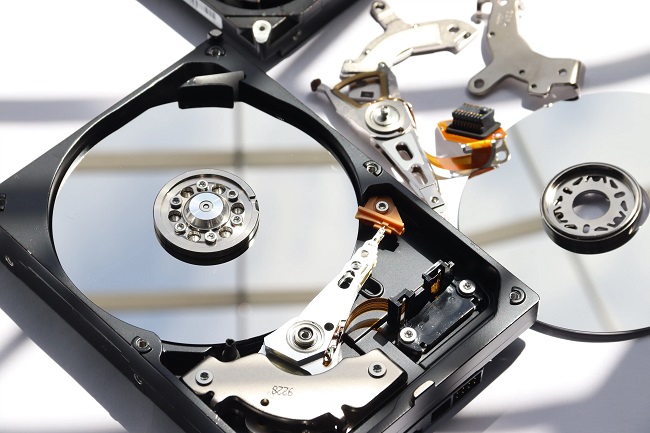
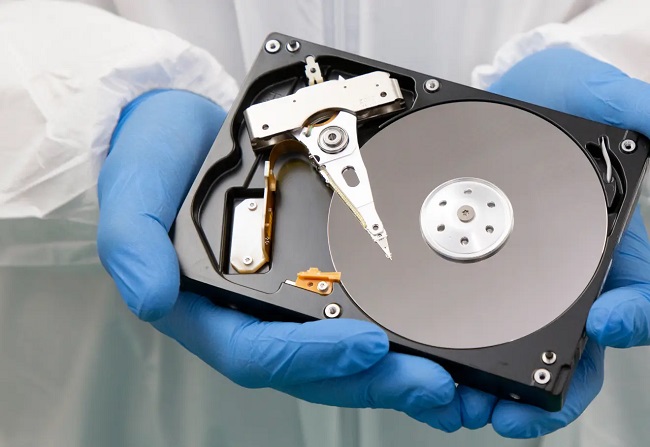
Step 3: Professional Help – When DIY Isn’t Enough (For Physical Failures)
If your drive exhibits physical damage, DIY recovery efforts might not suffice. Clicking or grinding noises, excessive heat, or a complete lack of response often indicate internal hardware failures. In such cases, seeking professional data recovery services is the wisest course of action.
Data Recovery Professionals Utilize Sophisticated Techniques and Tools Unavailable to Average Users, Including:
- Cleanroom environment: Ensuring dust and contaminants don’t further damage the internal components.
- Data cloning: Creating an exact copy of the failed drive to avoid further stressing the original during recovery.
- Advanced hardware and software: Employing specialized Tools and techniques to bypass damaged sectors and extract recoverable data.
While professional data recovery services come at a cost, they offer significantly higher success rates for physically damaged drives, potentially salvaging irreplaceable data that DIY methods cannot reach.
Step 4: Prevention is Key – Backing Up is Your Best Friend
The saying “prevention is better than cure” rings true when it comes to data loss. Implementing a robust backup strategy can save you the heartache and expense of data recovery down the line. Here are some backup options to consider:
- Cloud storage: Services like Google Drive, Dropbox, and OneDrive offer convenient, off-site backups that are accessible from any device.
- External hard drives: Regularly schedule backups onto a separate external hard drive for local redundancy.
- Network Attached Storage (NAS): A personal cloud solution, NAS devices offer dedicated storage for backups within your Home network.
Remember, the Sooner You Implement a Backup Routine, the Less Likely You are to Face the Agony of Data Loss in the Future.
Bonus Tip: Regularly check the Health of your hard drives using diagnostic tools readily available online or provided by your hard drive manufacturer. Early detection of potential issues can prevent catastrophic failures and data loss.
Losing precious video recordings and files from a failed hard drive can be a gut-wrenching experience.
But with this guide and a combination of DIY software tools and professional expertise, you can significantly increase your chances of recovering your treasured memories and invaluable data.
Remember, prevention is key, so implement a robust backup strategy to ensure your cherished memories remain safe and readily accessible, come what may.


