When launching a virtual machine, such as Windows 10, Linux, or macOS, the “CPU has been disabled by the guest operating system” problem is common. Incorrect VT-X settings are frequently to blame.
A disc configuration issue, file corruptions and an invalid CPU ID are also to blame. Here are the appropriate answers. So, let’s take a look at each of these options one at a time.
In the digital landscape of antivirus software, Avast has carved out a space for itself as a trusted name. While it offers robust security features, users sometimes encounter issues, notably involving the Avast Update Helper and its associated Error 1316.
This comprehensive article delves into the Avast Update Helper, the causes of Error 1316, what this error means for Windows users, and how to unregister and re-register the Windows Installer.
What is Avast Update Helper?
Avast Update Helper is a component of Avast antivirus software designed to automate the update process. It regularly checks for new updates to the Avast application and downloads them in the background to keep your antivirus software up-to-date.
This feature ensures that users benefit from the latest security patches and feature enhancements without manually downloading updates.
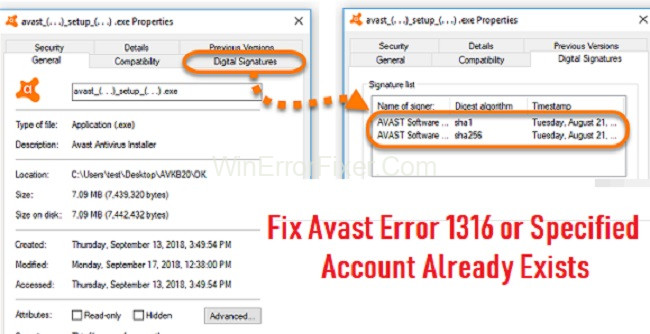
Causes of “Product: Avast Update Helper — Error 1316. The Specified Account Already Exists.”
This specific error message often confuses users. Essentially, Error 1316 is an installation-related error that may occur when the Avast Update Helper tries to update the Avast software but encounters a conflict due to an existing account or installation record. Common causes include:
- Corrupted installation files
- Incomplete or failed uninstallation of a previous version
- Conflicts with other software
- Incorrect registry entries
Fix 1: Enable VT-X in the BIOS
It is possible to run numerous operating systems in a virtualized environment on a single server. When you disable VT, you’ll run into issues like VirtualBox not supporting 64-bit and VMware’s CPU being disabled. As a result, check sure that virtualization is activated.
- Restart your computer and click Delete or F2 when the starting screen shows to enter BIOS, then restart.
- Using the arrow keys, pick the Intel Virtualization Technology or VTx or VTd option and change it to Enabled.
- Press the F10 key to save the BIOS settings and exit the BIOS window. After that, your computer will reboot.
To see if “the CPU has been disabled by the guest operating system,” relaunch your virtual machine. In this manner, the “power off or reset the virtual computer” problem is resolved.
Read Also:
- Error Code: f7121-1331
- Recipient Address Rejected Access Denied
- Windows Setup Could Not Configure Windows To Run On This Computer’s Hardware
Fix 2: Mask Your CPU’s Identifier
A security function, according to some users, is to blame for the issue. This CPU may not be supported or validated by the manufacturer. If this is the case, you may be able to get around the problem by concealing the CPU ID.
Using a note editor like Notepad++ is the only option because VMware Workstation doesn’t have a masking capability. In this manner:
Step 1: If you don’t already have one, click here to get one. For this example, we’ll use Notepad++.
Step 2: Once you’ve opened the note editor, you’ll need to open your VMware Workstation and change the ISO image state to OFF.
Step 3: Click on Edit virtual machine settings after selecting your guest virtual machine.
Step 4: In the Hardware tab, pick the Hard Disk (SCSI) device and copy the Disk file’s precise path from the right pane.
Step 5: Locate the Disk file path by pressing Win + E on your keyboard. Now, locate a.vmx file, right-click it, and select Edit with Notepad++ from the context menu.
Step 3: Using Notepad++, open the vmx file and type the following code in the bottom-right hand corner. Close Notepad++ by pressing Ctrl + S to save your changes.
“0000:0000:0000:0000:0001:0000:0110;1010:0101” is the cpuid.1 eax value.
Once the virtual machine has been started, you may see if “The CPU has been disabled by the guest operating system” is true. “Reset the virtual machine to its factory settings.” There was a mistake that was corrected.
Fix 3: A New Virtual Machine Should be Created.
A faulty virtual machine may be the source of the VMware the CPU has been deactivated by the guest operating system problem. A fresh guest machine must be created in this situation.
However, you will lose any data on the guest virtual computer as a result of this procedure. As a result, you should always have a backup prepared. You can use this article to learn how to construct a new virtual machine.
Fix 4: Upgrade VMware WorkStation Version 4
The CPU has been deactivated by the guest operating system.” if you still get this message. After trying the following options, you may want to consider upgrading your VMware Workstation to the latest version.
VMware Workstation Pro 15.5 has been shown to be able to correct the mistake by some users. It’s definitely worth a shot.
What is Error 1316 on Windows Uninstall?
While Error 1316 is often associated with Avast, it’s not exclusive to it. It’s a Windows Installer error that can occur when you try to uninstall any application.
The error signifies that an earlier version of the software exists and the uninstallation process can’t proceed. This may be due to corrupted uninstallation records, which hinder the Installer from removing the software entirely.
How Do I Unregister and Re-register Windows Installer?
If you’re encountering Error 1316 consistently, unregistering and re-registering the Windows Installer could help resolve the issue. Here’s how to do it:
On Windows 10/11:
- Open Command Prompt as Administrator: Search for ‘Command Prompt’ in the Start menu, right-click, and choose ‘Run as administrator’.
- Unregister Windows Installer: Type
msiexec /unregisterand press Enter. - Re-register Windows Installer: Type
msiexec /regserverand press Enter. - Restart Your Computer: To ensure the changes take effect.
On Older Windows Versions:
- Access ‘Run’ from the Start menu.
- Type
msiexec /unregisterand press OK. - Open ‘Run’ again, type
msiexec /regserver, and press OK. - Reboot your system.
Read Also:
- No Man’s Sky Failed To Join Lobby
- How To Fix Error 31 Other Network Problem
- An Unexpected Error Has Occurred Netge-1000
In summary, the Avast Update Helper is designed to streamline your antivirus software updates. However, issues like Error 1316 can arise due to various reasons, such as corrupted files or conflicts with previous installations.
Understanding how to unregister and re-register the Windows Installer can help solve this issue, ensuring that your Avast antivirus and other software remain functional and up-to-date.


