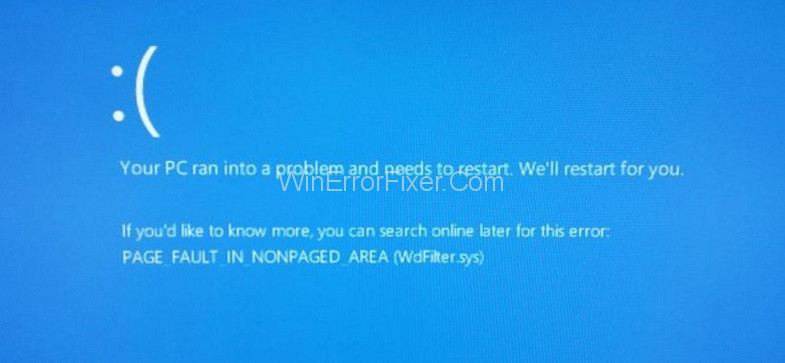
PAGE_FAULT_IN_NONPAGED_AREA is a blue screen error. It is also known very commonly as the blue screen of death. If you are someone who has been facing this error then you know for sure that how frustrating this can turn out to be. Well, this Error mainly happens when the Windows is trying to search and find a very important bit of information but it is unable to do so. In such a case the computer shuts itself down in order to prevent any more damage to your computer.
The data can be in a page file that is on the RAM of your computer or it can be on the storage space on your hard disk that is being used by the RAM of your device. Now generally the blue screen of death is caused by the RAM problem or if your RAM is unable to connect to the motherboard of the device. The antivirus software that you are using can also cause the problem. Well, no need to worry because we are here to help you out.
So you do not have to do anything except follow the steps that we are going to provide in each of the individual solutions. People tend to panic a lot and then mess their devices up more. Do not be that person. Keep your patience and keep your very well-needed wits. They will only help you. Now let us get to the main portion of the article.
How To Fix PAGE FAULT IN NONPAGED AREA Errors?
Well, we are going to see all possibilities and cover all the bases that is needed by a person in order to solve this error. This is an error that had been haunting a lot of people in the technology world and Windows users. Well, we have the solutions to the problem. With many people facing the same error, a lot of people are going to come up with new solutions.
Not every problem is the same and the same problem can be caused by a variety of reasons. In a similar way we do not know which is the cause behind your blue screen of death and you can not figure it out by looking at it either.So the only thing that you can do in such a situation is to go ahead and follow all the steps that we have provided. Well, there are 5 solutions in total.
So you have to make your way down the list after trying each of the solutions there. After doing each of them you can try to check if the problem is gone or if it is still persisting in your system. That is it. Now let us get to the first solution that we have here.
Solution 1: Re-create Page File
You can easily do this by just going on ahead and following the steps that we have provided you for doing this job –
Step 1: Click on the Windows button and then press R. Then you need to go ahead and paste the command SystemPropertiesAdvanced.exe in the dialogue box.
Step 2: Now go to the Advanced tab and then click on Performance followed by Settings. A new dialog box will appear. Click on the Advanced tab and search for the option named Automatically manage paging file size for all drives. Uncheck it.
Step 3: Select the No Paging File action and set it. Click ok on all the confirmation boxes and you should be done with the process. Restart the computer.
Check if the problem is still there or if it’s gone.
Solution 2: Run chkdsk
It is a desk checking utility of Windows. Here is how you do it –
Step 1: Go to the command box and then run as administrator. Enter the command chkdsk /f /r and then click on the Enter button.
Step 2: You are going to get a message “The drive is locked and if you would like to schedule a chkdsk on the next restart, type in Y for yes”. Then you need to press the Y button and enter.
Step 3: Restart the computer and check if the problem is there or not.
Also Read: 1) Nintendo Switch Won’t Turn On
2) Not Registered On Network
Solution 3: Run System Restore
Here are the steps that you are going to follow in order to run system restore –
Step 1: First open the run dialog box and then you have to enter the command rstrui.exe in there and press enter.
Step 2: You will see a Recommended Restore. You however need not go with the default one. You have to check the time when this was working properly without any issue.
Step 3: Click on the Show more restore points. If you do not find any then you can skip the solution. But if you do then that’s great.
Step 4: Then click on Next and Finish.
Check if the problem is gone or not.
Solution 4: Run SFC Scan
You can also try this solution of running an SFC scan. This is for Windows 10.
Step 1: Go to the command prompt and then run as admin.
Step 2: Type in the command sfc /scannow and then press enter. You will be able to wait out when the command is running. Then check if the problem you are facing is still there or not. If yes, then move on to the next step. Or the next solution rather.
Solution 5: Windows Memory Diagnostics
A faulty RAM can also be the cause of the problem that had been called the blue screen of death.
Step 1: First open the run dialog box using the Windows key and the R button. Then enter the command mdsched.exe and click on enter.
Step 2: You will be provided with the option to check RAM now and reboot it or if you want to do so later. Select the option that suits you.
When you will reboot the check-up will start. If there are no problems then that’s good and if there are any problems then you will be shown that and you need to approach them one by one.
Conclusion
Thank you so many guys for going on ahead and giving this article here a read till the very end. We really do appreciate the read a lot and we are glad that we could be of some help. If you are someone who faced the blue screen of death them you know it can be a real pain and we hope that you have been able to solve the issue.
If you really liked the article and if it had been able to help you then we will be highly appreciative if you take some time and then leave us feedback about this article. We like it when people are honest about it so that we can improve ourselves in the future. So do consider leaving your thoughts on it. Thank you so much once again and have a nice day you guys! Take care of yourself. Adios!


