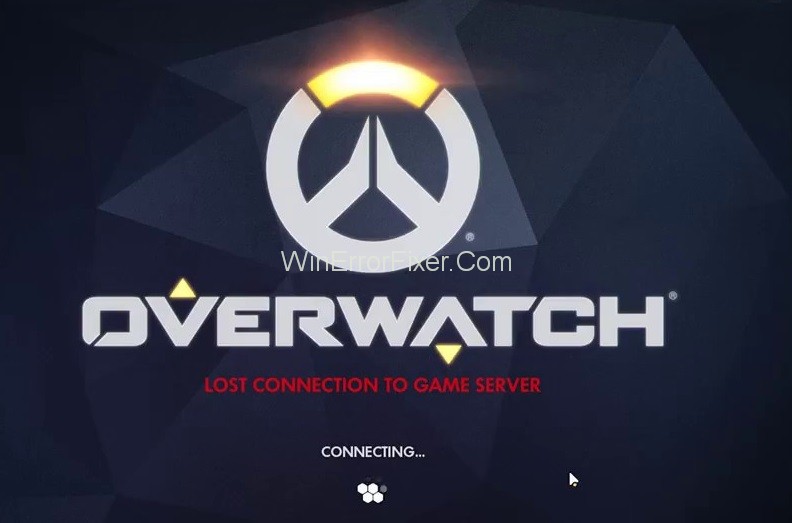
Overwatch lost connection to the game server is something that a player won’t ever expect. In this scene, all of a sudden it flashes to the screen with the red words, “lost connection to game server”.
Many Overwatch players report that their Overwatch lost connection to the game server. So we will be discussing a few steps to help you to fix the issues.
Overwatch, Blizzard Entertainment’s renowned first-person shooter, is known for its competitive gameplay and high-quality servers. However, users sometimes face issues, notably the “Lost Connection to Game Server” error.
What causes this frustrating problem, and is there any truth to the rumors that Overwatch servers are down permanently? This article aims to shed light on these questions.
Causes of Overwatch Lost Connection to Game Server
Common Reasons Behind the Error
Understanding the reasons behind the ‘Lost Connection to Game Server’ error is the first step in resolving it. Here are some typical causes:
- Network Instability: A shaky or unreliable internet connection can often lead to this issue.
- Firewall Restrictions: Your computer’s firewall settings might be blocking Overwatch’s server connections.
- Server Overload: When too many players are online, servers may struggle, causing disconnections.
- Software Conflicts: Sometimes, third-party software can interfere with your game, leading to lost connections.
Possible Fixes
- Check Your Internet: Ensure that you have a stable, high-speed internet connection.
- Adjust Firewall Settings: Modify your firewall settings to make sure it isn’t blocking Overwatch.
- Avoid Peak Hours: Try playing during non-peak hours to avoid server overload.
- Disable Interfering Software: Turn off or uninstall software that might be conflicting with Overwatch.
How to Fix Overwatch Lost Connection to the Game Server Error
Solution 1: Restart your Network
If you reboot your network then your internet connection speeds up as normal. Follow the steps given below to solve the Overwatch lost connection to the game server issue:
Step 1: First unplug your Modem or Router from electric power for 60 seconds.
Step 2: Then plug in your network devices again. Wait for all the indicator lights to blink, once they are back to normal you are ready to go.
Step 3: Now launch Overwatch to check it.
Finally, check for the Overwatch will lose connection to the game server error. If it is not fixed then you should move to the next method to fix lost connection to the game server in Overwatch.
Solution 2: Reset Winsock Data
Winsock is a programming interface and it supports programs in the Windows operating system. Winsock defines that how should Windows network software access network services. Follow the steps given below:
Step 1: Press the Windows logo key and type cmd in the search box.
Step 2: Now, you can see the command prompt in the list, right-click on it and select Run as administrator.
Step 3: It will ask you for the Permission, click on Yes to run the Command Prompt.
Step 4: Type netsh winsock reset in the command prompt and then press Enter.
Step 5: Restart the PC to see if Overwatch can connect to the game server or not. And if it doesn’t then move to the next solution.
Solution 3: Flush Your DNS And Renew Your IP
This issue could also be caused by DNS and IP. So try to flush your DNS and renewing the IP. Follow the steps given below:
To flush the DNS:
Step 1: Press the Windows logo key and R together to open the run dialog.
Step 2: Type cmd and press Ctrl, Shift and Enter at the same time to run the command prompt as administrator.
Step 3: Now click yes to run the command prompt.
Step 4: Type ipconfig /flushdns and press Enter on the keyboard.
To Renew the IP:
Step 1: Press the Windows logo key and R simultaneously.
Step 2: Type cmd and then press Ctrl, Shift and Enter at the same time to run the Command Prompt as Administrator.
Step 3: And if it asks for the permission then click Yes to run the Command Prompt.
Step 4: Type ipconfig /release and press Enter.
Step 5: Now, type the following command ipconfig /renew and press Enter on your keyboard.
Step 5: Now launch the Overwatch and check if it is solved or not.
Solution 4: Avoid Wireless Interference
If Overwatch lost connection to the game server when PC was connected to the internet via WiFi Network, then Overwatch lost connection to game server issues is caused by wireless interference. Follow the steps given below:
Step 1: Move the router to the new location.
Step 2: Move wireless devices away from the router, or turn off those devices.
Step 3: Now launch the Overwatch to check if the issue is solved or not.
Solution 5: Disable the Proxy Server
If you are using the proxy server then it might create the connection problem. Follow the steps to disable the server:
Step 1: Press the Windows logo key and R at the same time.
Step 2: Type intelcpl.cpl. Now press enter.
Step 3: Now move to the connections tab. Select never dial a connection.
Step 4: Click on LAN settings.
Step 5: Now uncheck the box next to use a proxy server for LAN. If it is unchecked, then check the box next to Automatically detect settings.
Step 6: Click on the OK option.
Step 7: Disable it if you are using a VPN or a third-party proxy server.
Step 8: Now launch the Overwatch to see if the issues exist or not.
Solution 6: Change the DNS server
Google Public DNS provides a speed boost and increased security. Try changing the DNS server to see if this issue gets solved. Follow the steps given below:
Step 1: Press the Windows logo key and R simultaneously.
Step 2: Now type control and press enter.
Step 3: View the control panel by category.
Step 4: Click on view network status and tasks.
Step 5: Click on change adapter settings.
Step 6: Right-click on the current network. Now select properties.
Step 7: Double click on Internet Protocol Version 4 (TCP/ IPv4).
Step 8: Select obtain an IP address automatically, you can Use the following DNS server addresses.
- For the alternative DNS server, enter the Google DNS address: 8.8.4.4.
Step 9: Click on OK to save the changes.
Step 10: Now restart the PC and launch the Overwatch.
Solution 7: Close Bandwidth-Hogging Applications
If you are using OneDrive, Dropbox and iCloud it requires an internet connection to download and upload files and if at the same time family members are watching TV then Overwatch may lose connection.
Look at the steps below to solve Overwatch lost connection to game server:
Step 1: Press Ctrl, Shift and Esc simultaneously to open the Task Manager.
Step 2: Right-click the bandwidth-hogging applications.
Step 3: Now, Select End task.
Launch Overwatch to check if Overwatch lost connection to game server is solved or not.
Solution 8: Update Your Network Driver
This issue is even caused if the network driver on PC is missing or outdated. There are 2 ways to update your network: manually and automatically.
Manually update your network driver: We can update the network driver by going to the manufacturer’s website. Search for the latest driver for your network adapter.
or
Automatically update the network driver: You can automatically update your network driver with Driver Updater software. Here you don’t need to risk for downloading and installing the wrong driver. We have software which handles it all.
Step 1: First download and install the Driver Updater.
Step 2: Run the application and click the scan now button. The software will now scan your computer and detect the problems.
Step 3: Click update next to automatically download the correct version of this driver. Then it could be installed manually. And click the update all to automatically download and install the correct version of all the drivers that are missing.
Solution 9: Run Blizzard’s Battle.net Looking Glass
Blizzard’s Battle.net is a network diagnostic tool that can test the server connection. So, below are a few steps to check the server connection:
Step 1: Go to Blizzard’s Battle.net Looking-Glass.
Step 2: Then select your region and the Overwatch.
Step 3: Check all the testing items and click Run Test.
Finally, Now you can post the test results with detailed information of your problem on the official forum of Overwatch. Anyone will help you to analyze the results and solve Overwatch lost connection to the game server.
Are Overwatch Servers Down Permanently?
Recently, there have been rumors circulating about the permanent shutdown of Overwatch servers. However, as of the last update, there is no official confirmation from Blizzard Entertainment about such a move.
Overwatch continues to receive updates, and its community remains active. It’s crucial to rely on verified sources for such information and not fall for rumors.
How to Troubleshoot Connection Issues
- Restart Your Router: This simple step often solves many connection-related issues.
- Use Wired Connection: Switch from Wi-Fi to a wired connection for increased stability.
- Check Blizzard’s Server Status: Visit Blizzard’s official server status page to confirm if the servers are up.
- Contact Customer Support: If nothing works, reaching out to Blizzard’s customer support might be your best bet.
Read More:
- PUBG Failed to Initialize Steam
- Steam Content File Locked
- DX11 Feature Level 10.0 is Required to Run the Engine
- Unable to Initialize Steam API
Conclusion
These are some of the most best methods to fix Overwatch lost connection to game server. We hope one of those above methods could have worked to solve the lost connection to game server in Overwatch.
The “Lost Connection to Game Server” error in Overwatch can be disheartening, especially during crucial moments in competitive matches. However, understanding its root causes can go a long way in resolving it.
Furthermore, while there have been rumors about the permanent shutdown of Overwatch servers, no official confirmation exists to support these claims. When faced with connection issues, employ basic troubleshooting steps and, if all else fails, reach out to Blizzard’s customer support for a more tailored solution.


