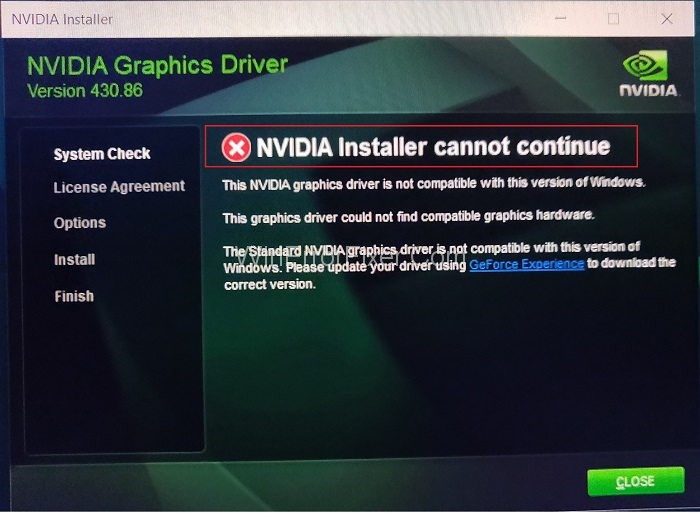
The conflict between Windows and NVIDIA Graphics Card is not new. When you are running the NVIDIA install the program, you may encounter an error NVIDIA Installer Cannot Continue.
This error prevents you from Installing NVIDIA Graphic Card. No matter how many times you try, you will get the same NVIDIA Installer Cannot Continue Error message.
There are many reasons behind NVIDIA Installer Cannot Continue error. It happens with a variety of Windows and driver versions. Always ensure that you have installed the latest version of Windows on your system. Solving this error can be frustrating for a lot of users. But thankfully, many solutions are available to solve NVIDIA Installer Cannot Continue problem.
If you’re a gamer or someone who relies heavily on graphics-intensive tasks, you’re likely familiar with NVIDIA, a brand synonymous with high-quality graphics cards.
However, even the best technology can encounter issues, especially during the installation process. This article aims to cover everything you need to know about NVIDIA Installer, from the causes of common errors to steps for resetting drivers.
What is NVIDIA Installer?
NVIDIA Installer is the software package used to install drivers for NVIDIA graphics cards. The installer ensures that your system is equipped with the necessary software to communicate effectively with the graphics hardware, optimizing performance for gaming, 3D rendering, and other graphics-intensive tasks.
Causes of “NVIDIA Installer Cannot Continue” Error
The “NVIDIA Installer Cannot Continue” error is a common issue faced by users while installing NVIDIA drivers. Several reasons can trigger this problem:
- Incompatible Graphics Card: Ensure your graphics card is compatible with the driver you’re trying to install.
- Corrupted Driver Files: Sometimes, the downloaded files can be corrupted, requiring a fresh download.
- Antivirus Software: Security software can sometimes block the installation. Make sure to disable it temporarily during the installation.
- Old Drivers: Previous versions of NVIDIA drivers can conflict with new installations. Make sure to uninstall old drivers before installing new ones.
5 Best Solutions to Fix NVIDIA Installer Cannot Continue Issue
Here we will discuss some of the Solutions to Fix NVIDIA Installer Cannot Continue Error. Try these Solutions in order to solve the issue. These solutions are given as:
Solution 1: Update Drivers and Enable Graphic Card
Updating your NVIDIA driver fixes this error most of the time. To update NVIDIA Graphics Card Driver, apply the following steps:
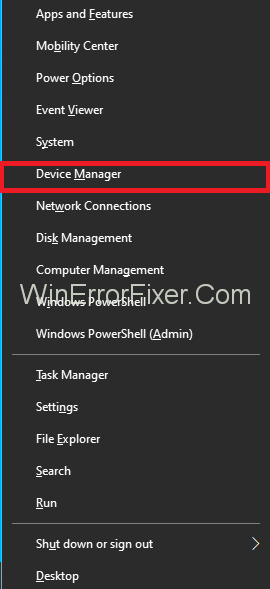
Step 1: Press Windows + X from the keyboard. From the list of options, choose the Device Manager option. Alternatively, you can click on Start and then type Device Manager in the Start search bar. Click on Device Manager. It will display the Device Manager Window.
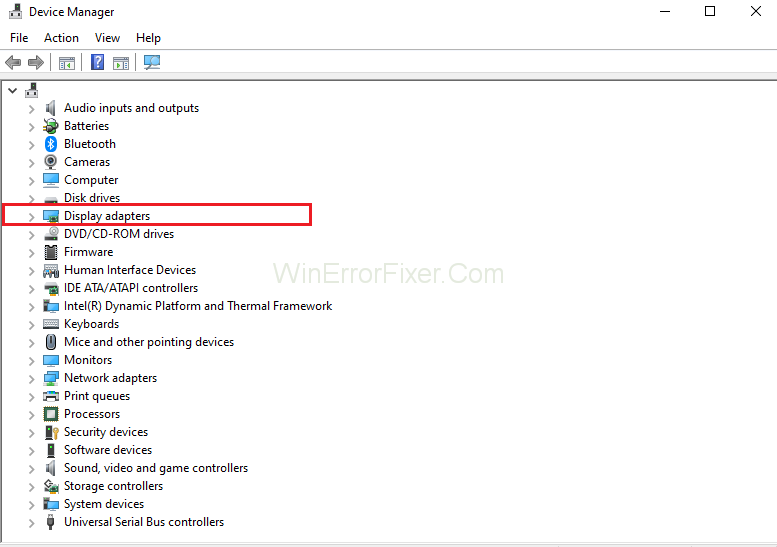
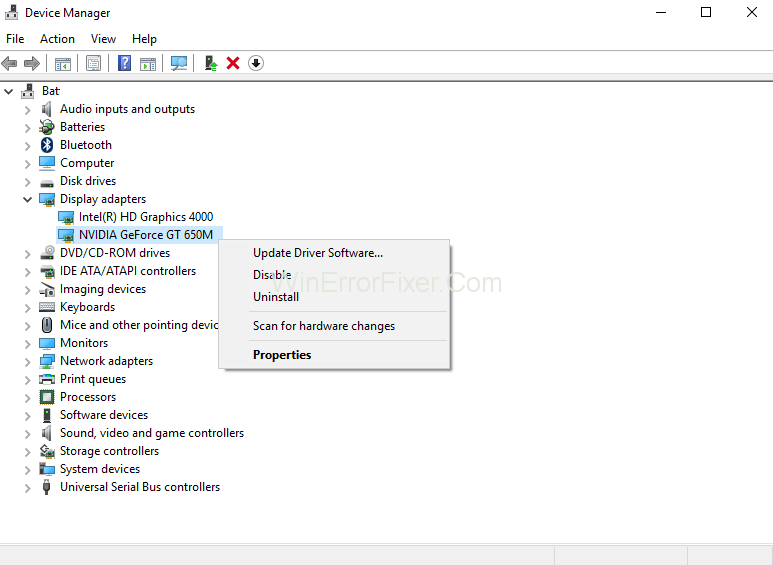
Step 2: Locate the Display Adapters option and then click on it to expand. Also, check if there exists any Display Driver Stopped Responding error.
Step 3: Right-Click on your NVIDIA Graphic Card and select the Enable option.
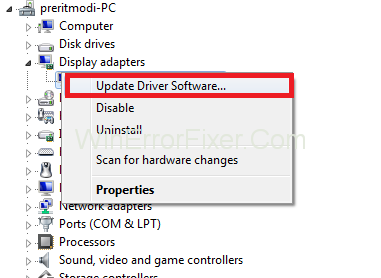
Step 4: After doing this, once again right-click on NVIDIA Graphic Card and choose Update Driver Software option.
Step 5: Next, choose the option Search automatically for updated driver software.
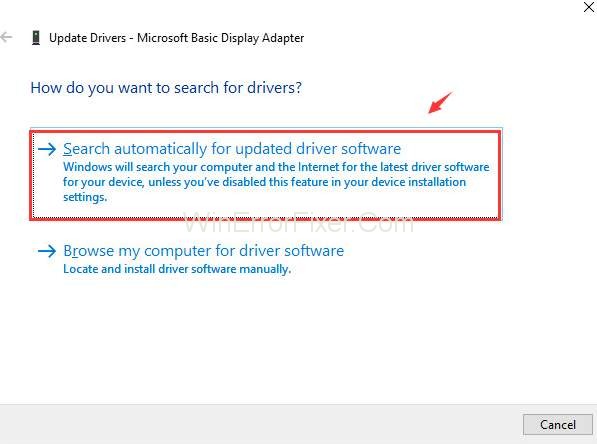
Step 6: Follow the instructions as appearing on the screen.
Step 7: Complete the process.
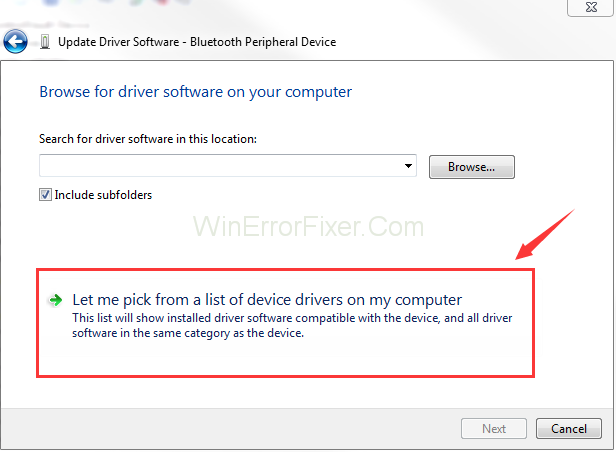
Step 8: Select Update Driver Software but select Browse my computer for driver software option this time.
Step 9: After that, select Let me pick from a list of device drivers on my computer option.
Step 10: Now select the compatible driver from your computer system.
Step 11: After that, click on the Next button.
Step 12: Once the process finishes, apply the changes.
Step 13: Now restart you system and check if the NVIDIA Installer Cannot Continue error still exists.
If the NVIDIA Installer Cannot Continue error is still present, then go for the next solutions.
Solution 2: Disable Antivirus and Firewall
Sometimes, the antivirus installed on your computer blocks the installation process of NVIDIA. So, many users suggest closing all the running firewall and disabling antivirus. You can do it by killing all the processes related to antivirus. It can be done with the help of the Task Manager. The steps for disabling antivirus are given as:
Step 1: Press Ctrl + Alt + Delete keys simultaneously from the keyboard. It will display the Task Manager Window. Alternatively, right-click on the bottom of the screen and choose Task Manager. It will also display Task Manager.
Step 2: Scroll down to see the list of the processes related to Antivirus.
Step 3: Now, we have to choose the target process and click on End Process.
Step 4: Restart your system again. After performing the above steps, check for the Nvidia Installer Cannot Continue error.
Solution 3: Delete All NVIDIA Processes From the Task Manager
“NVIDIA Installer Cannot Continue” error can also be fixed by removing the NVIDIA processes from the system. We can stop NVIDIA processes by going to Task Manager. To do so, apply the steps given below:
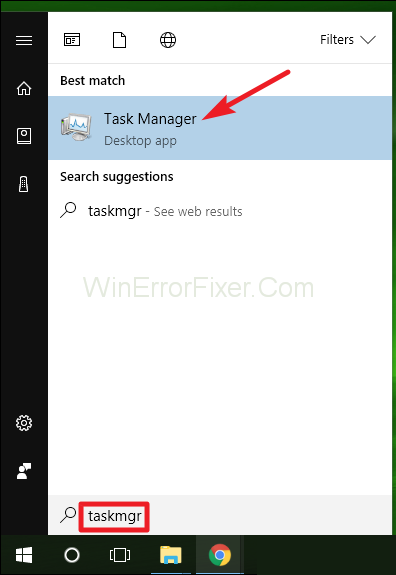
Step 1: At first, go to the Start menu. Type Task Manager in the search bar. After that, tap on the Task Manager, which shows at the top of the search results.
Step 2: Find the NVIDIA processes from the list and right-click on it. Choose the End Process option. This will block all the running NVIDIA processes.
Step 3: Now, restart your system. Try to run the installation process of the graphics card again. Check if the NVIDIA Installer Cannot Continue issue resolves or not.
Solution 4: Add the Device ID of the Graphic Cards Manually
Many times, the system detects the card incorrectly. It may also result in the “NVIDIA Installer Cannot Continue” error. You can type the Device ID of the NVIDIA in the particular field. Here are the steps to do this:
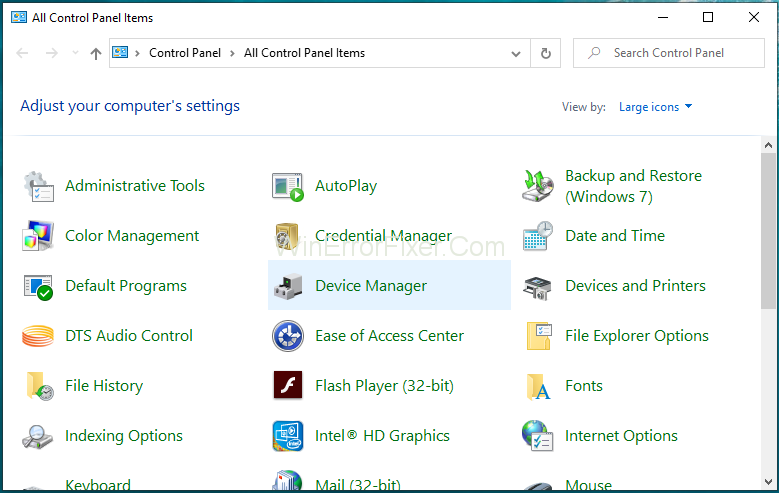
Step 1: Go to the Start menu. Type Control Panel in the search bar and press Enter key.
Step 2: Control Panel’s items will be displayed. Choose the Device Manager option from the list.
Step 3: Now, search the option Display Adapters. Then expand the list. Right-click on the option NVIDIA Graphics Card and choose the Properties option.
Step 4: Navigate to the Details tab. From the Property menu, choose the option Hardware Ids from the list of options.
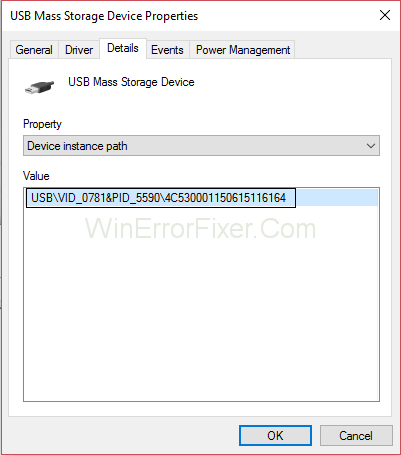
Step 5: Identify the Device and Vendor code of the NVIDIA Graphics Card. Here VEN stands for Vendor-Id, and DEN stands for Device-ID.
Step 6: On the website, enter the obtained Vendor Id and Device Id. After that, click on the Search button.
Step 7: You will get the vendor name and device name.
Step 8: Install and update the latest version of NVIDIA Driver.
Step 9: Restart the system. After that, check that NVIDIA Installer Cannot Continue error is still showing or not.
Solution 5: Remove All the Redundant Files
Many times, redundant files are present in the system. These files create problem while installing drivers. Uninstalling old drivers is one of the ways to delete such files. Many users suggest deleting these files manually. Check each directory and delete the files given below:
- C:\Windows\System32\DriverStore\FileRepository\nvdsp.inf file
- C:\Windows\System32\DriverStore\FileRepository\nv_lh file
- C:\Windows\System32\DriverStore\FileRepository\nvoclock file
- C:\Program Files\NVIDIA Corporation\
- C:\Program Files (x86)\NVIDIA Corporation\
After deleting these files, restart your computer. Check if the NVIDIA Installer Cannot Continue error is still present or not. Also, while installing drivers, choose custom and go for a clean installation.
Why Does NVIDIA Experience Keep Failing to Install?
NVIDIA Experience is a companion application that offers additional features like gameplay recording. The installation may fail due to:
- System Requirements: Make sure your system meets the software requirements.
- Incomplete Downloads: Ensure the installer file is completely downloaded.
- Admin Permissions: Running the installer as an administrator can sometimes resolve installation issues.
How Long Should NVIDIA Installer Take?
Installation time can vary based on system specifications and the specific NVIDIA package you’re installing. However, most users report that it takes between 10 to 20 minutes for the entire process, including downloading the driver and the actual installation.
How Do I Delete NVIDIA Installer?
If you need to make room on your hard drive or wish to perform a clean installation, you can delete the NVIDIA Installer files:
- Navigate to the folder where the NVIDIA Installer is located (often
C:\NVIDIA). - Select all files and delete them.
- Empty the Recycle Bin to completely remove the installer files.
Note: This action only removes the installer files and not the installed drivers.
How to Reset NVIDIA Drivers
If you encounter issues with your NVIDIA drivers, resetting them might solve the problem:
- Uninstall Current Drivers: Go to ‘Device Manager’ and uninstall the NVIDIA graphics driver.
- Restart Your PC: Reboot to complete the uninstallation.
- Reinstall Drivers: Use NVIDIA Installer to reinstall the latest version of the drivers.
Related Posts:
- NVIDIA Control Panel Missing
- NVIDIA Container High CPU Usage
- NVIDIA GeForce Experience Not Working
- NVIDIA Installer Failed
- NVIDIA Display Settings are Not Available
Final Thoughts
There are many users of the NVIDIA Graphics Card around the world. “NVIDIA Installer Cannot Continue” is a common error occurring in Windows 10. Here we have discussed some of the fixes to solve this problem.
The majority of users successfully resolve this error. Hopefully, these solutions will work best for you. If none of the Solution is working, then try reinstalling Windows 10. Do not forget to keep backup of your important files before reinstallation.


