DNS Server helps to translate the domain name into IP address. So, if something wrong happens with DNS Server, then you are not able to access the website. Follow the step by step procedure to troubleshoot the problem “DNS Server not Responding“.
In today’s fast-paced digital world, a smooth browsing experience is a must. A significant part of this experience is facilitated by the Domain Name System (DNS). In this article, we’ll delve deep into what a DNS server is, the common “DNS Server Not Responding” issue, and potential solutions to rectify this problem.
What is a DNS Server?
A DNS server, often simply termed DNS, is akin to a phone book for the internet. Instead of flipping pages to find a phone number, computers use DNS servers to convert friendly domain names, like “www.example.com,” into IP addresses, which they use to identify each other on the network. This conversion process ensures smooth navigation on the web.
Causes of “DNS Server Not Responding” Issue
If you’ve ever come across the dreaded “DNS Server Not Responding” error, you’d know how frustrating it can be. Here’s what might be causing it:
- Server Downtime: Sometimes, the default DNS servers provided by your ISP may experience downtime or congestion.
- Network Issues: Faulty network connections can also lead to this error.
- Corrupted DNS Cache: Over time, your system stores domain information in a cache. If this gets corrupted, it might result in DNS errors.
- Software Conflicts: Certain software, especially VPN solutions and security suites, can interfere with DNS operations.
How to Fix DNS Server Not Responding on Windows 10
Solution 1: Correcting Your DNS Server Address
The problem “DNS Server not responding” could be caused by an incorrect DNS server address. So, to change the DNS Server address follow the below steps:
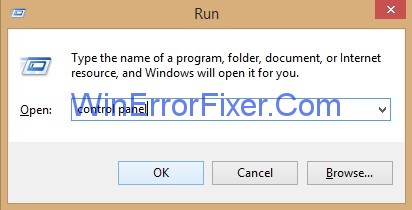
Step 1: First step is to invoke the Run box by pressing Windows and R key collectively.
Step 2: Run box will appear. Now, type control panel in the Run box and click on the Ok button.
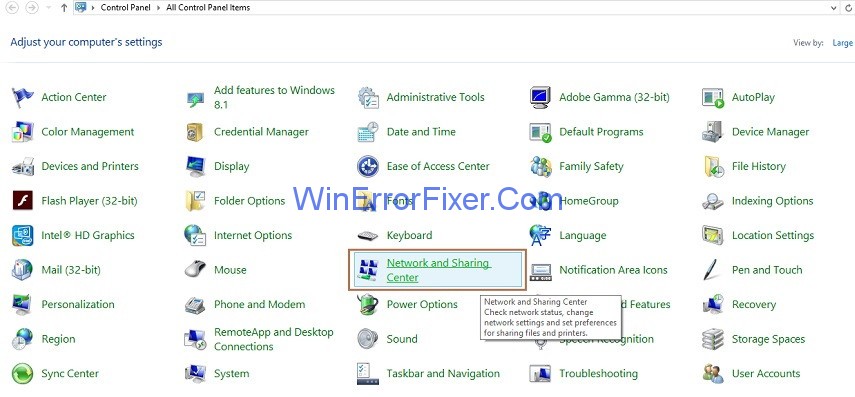
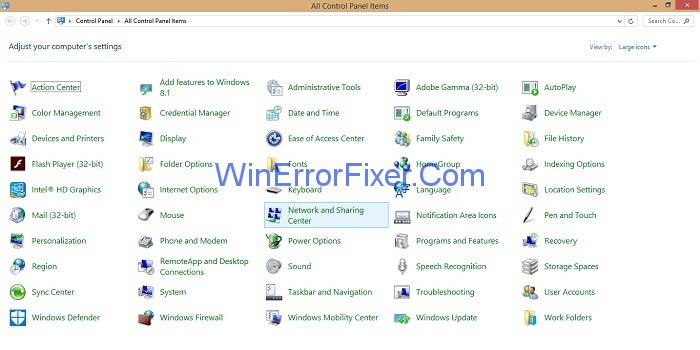
Step 3: All Control Panel Items window will appear and then search for the option Network and Sharing Center and click on it.
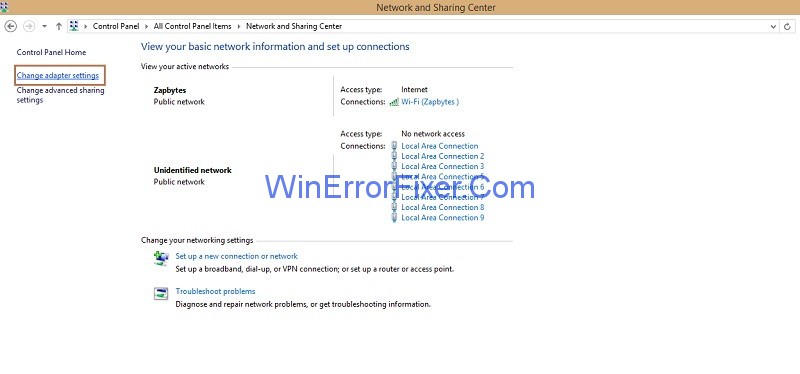
Step 4: On the left side of the pane, click on option Change Adapter Settings.
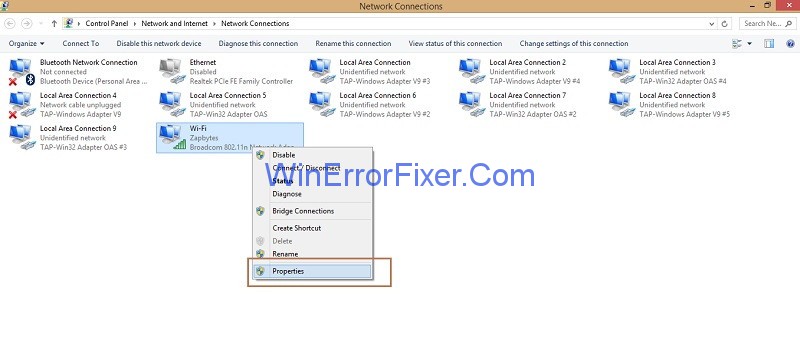
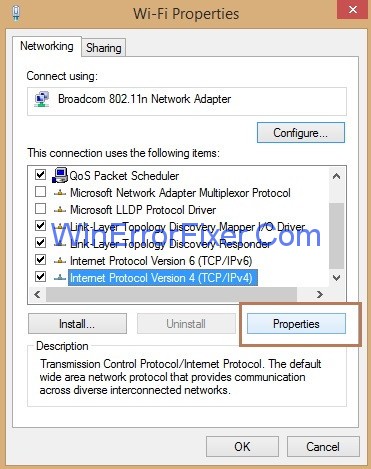
Step 5: Next step is to the right click on the network connection you are using and then click on Properties.
Step 6: Look for the option Internet Protocol Version 4(TCP/IPv4) and then click on it and then click the Properties button.
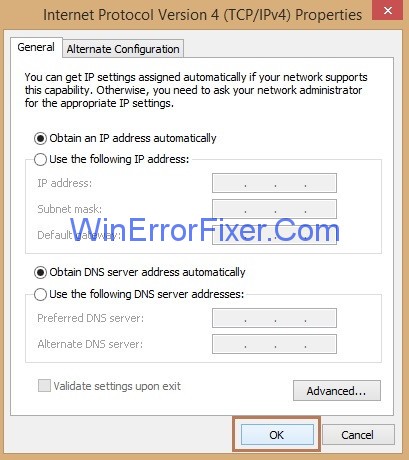
Step 7: Tick mark the option Obtain an IP address automatically and Obtain DNS server address automatically.and then click Ok button.
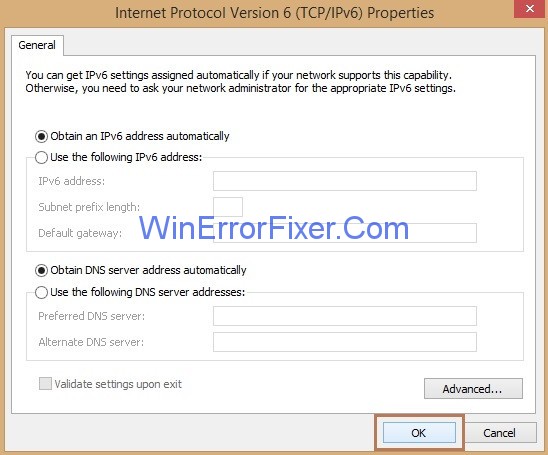
Step 8: Now, look for the option Internet Protocol Version 6(TCP/IPv6) and then click on it and then click the Properties button.
Step 9: Again, checkmark the option Obtain an IP address automatically and Obtain DNS server address automatically.and then click Ok button.
Now, access the website you want to open and check if the above solution works for you.
Solution 2: Clearing DNS Cache and Resetting the IP Address
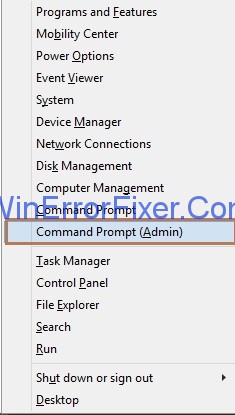
Step 1: First, you need to press Windows and X key collectively, a list of options will appear.
Step 2: Select the option Command Prompt (Admin) and Command Prompt window will open.
Step 3: Enter the following commands one by one in cmd and press Enter after each command:
ipconfig /flushdns
ipconfig /registerdns
ipconfig /release
ipconfig /renew
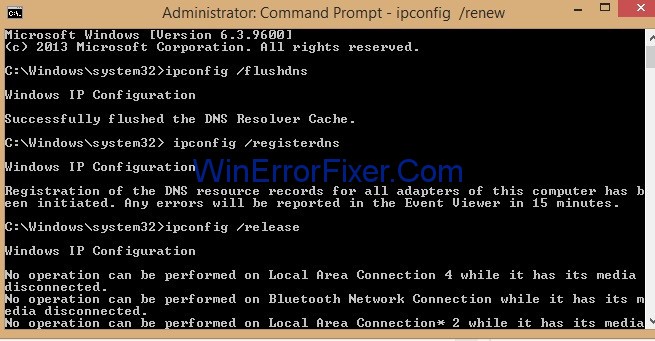
Step 4: Now, access the same website you want to open and check whether it is working now.
Solution 3: Restarting Router and Modem
The DNS Server stops responding if your router and modem does not work correctly. The only way is to restart your modem and router to fix the problem.
You need to Power Off your modem or router for some time, wait for a while and press the power button again to Power On the device. Now, reaccess the same site to check if it is working currently.
Solution 4: Running Windows Network Diagnostics
Network Diagnostics can help to detect network connectivity issues. To perform this, follow the below steps:
Step 1: First step is to invoke the Run box by pressing Windows and R key collectively.
Step 2: Run box will appear. Now, type control panel in the Run box and click on the Ok button.
Step 3: Now, search for the option Network and Sharing Center and click on it.
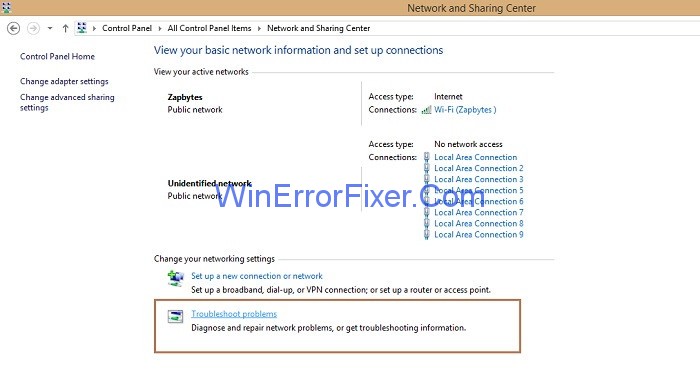
Step 4: Now, under the section Change your Networking Settings click on Troubleshoot problems option.
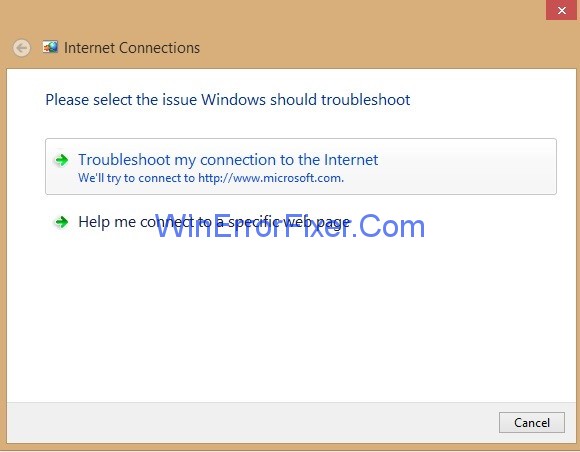
Step 5: Next step is to click on Internet Connections, and then a new window of Internet Connection will appear and click on the Next button.

Step 6: Click on Run the troubleshooter and then click on the option Troubleshoot my connection to the Internet.
Step 7: Now you need to wait for the process to complete and after troubleshooting is completed, check whether you can access the site.
Solution 5: Replacing the Router or Modem
If Routers and Modems continue to exhibit failures, they must be replaced immediately. Because failed routers and modems cause the DNS errors. So, check your router and modem in case you come up with error “DNS Server is not responding”.
Solution 6: To Resolve TCP/IP and DHCP Failures
Sometimes, what happens is that TCP/IP software inside user’s OS malfunction and then it sets the DNS Server address incorrectly and when you reboot your system it often clears out this temporarily defects.
So, one solution is to run a TCP/IP utility program that performs the procedure of releasing and then renewing the IP address settings. Likewise, most TCP/IP networks assign the IP addresses through the Dynamic Host Configuration Protocol(DHCP)service.
DHCP assigns the device’s primary and secondary DNS server addresses. Make sure both your system and router are DHCP enabled. If either of them is not using DHCP, a network connection error occurs.
Resetting Your DNS Server
Resetting or flushing the DNS can sometimes resolve the issue:
- Open the Command Prompt as an administrator.
- Enter
ipconfig /flushdnsand press Enter. - You should see a confirmation that the DNS resolver cache has been flushed.
Forcing DNS to Update
To force a DNS update, especially after changing DNS records on your domain’s host:
- Flush the DNS cache as mentioned above.
- Contact your hosting provider or domain registrar and request them to push or expedite a DNS record update.
Checking DNS Settings
To inspect your current DNS settings:
- Open Control Panel > Network and Sharing Center.
- Click on your connection (either Wi-Fi or Ethernet).
- Click on ‘Properties’ and then double-click on ‘Internet Protocol Version 4 (TCP/IPv4)’.
- Here you can view your current DNS server addresses.
Manually Setting Your DNS Server
If you wish to use a custom DNS server like Google’s 8.8.8.8:
- Follow the steps above to reach the ‘Internet Protocol Version 4 (TCP/IPv4)’ window.
- Choose “Use the following DNS server addresses”.
- Enter your preferred DNS, for instance:
- Preferred DNS server: 8.8.8.8
- Alternate DNS server: 8.8.4.4
- Click OK.
Do Not Miss:
Conclusion
To sum up, follow the above instructions in case you come up with the problem of “DNS Server not responding“. After trying the above solutions relaunch your site and enjoy browsing. A DNS server plays a pivotal role in ensuring you can access websites efficiently.
While issues like “DNS Server Not Responding” can occasionally interrupt browsing, understanding the root causes and remedies can make troubleshooting more straightforward.
Always remember to ensure your DNS settings align with your needs and security preferences.


